Please follow the steps below to install Montel XLF. If you wish to update from an earlier version, start with point 1. If this is a fresh install, continue to point 2.
- Deactivating the old version
Start here when updating Montel XLF from an earlier version, if not, please skip to point 2.
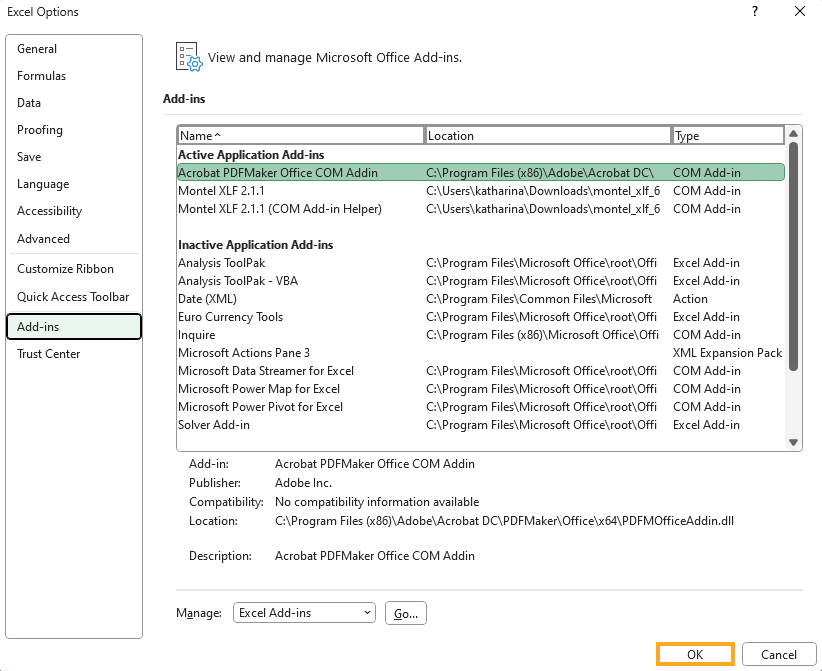
- In the left hand menu go to “File -> Options -> Add-ins” and click the “Go…” button:
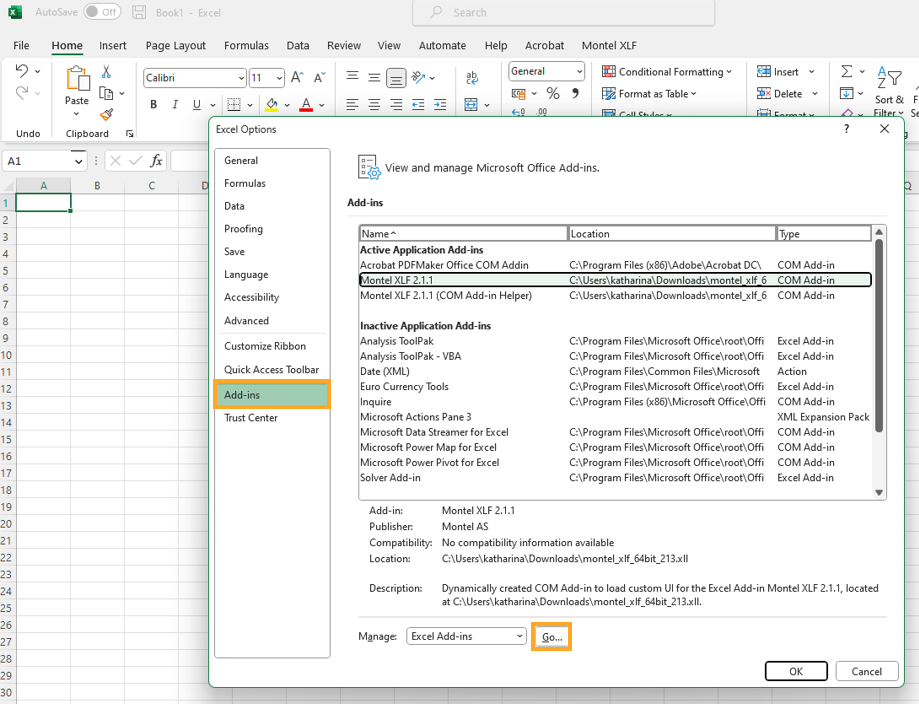
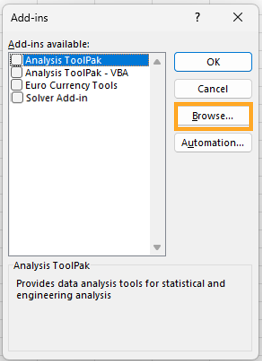
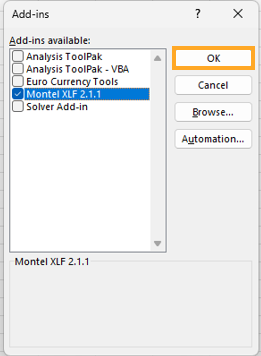
- Untick the previous version in the list under "Add-ins available" and click "OK":

- Before reinstalling Montel XLF, please delete a folder called "XLF" found locally on your device, usually via this path: C:\Users\"your user"\AppData\Roaming\Montel\XLF. Note that you might have to select "Show Hidden items" in your file explorer to view these folders.
- In the left hand menu go to “File -> Options -> Add-ins” and click the “Go…” button:
- Downloading the add-in:
To install the latest version of Montel XLF, you first need to find out which bit-version of Microsoft Office you have installed.
After opening Excel, click "File" -> "Account" -> "About Excel".
On the top row of the appearing popup window you will see which bit-version you have installed (32-bit or 64-bit):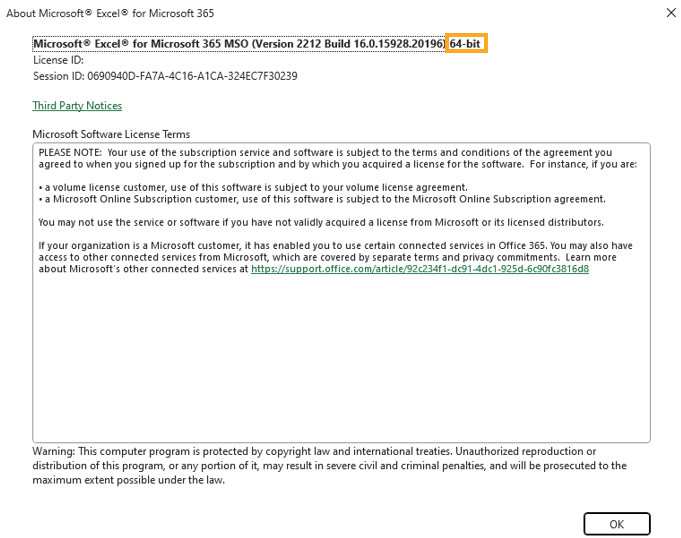
- After confirming which bit-version you have, please proceed by closing Microsoft Excel and following the steps below.
Download the file which corresponds with your bit-version of Microsoft Excel to your downloads folder.
- 32-bit version of Montel XLF
- 64-bit version of Montel XLF
Save the file locally on your disk, where you have reading/writing rights. E.g. create a new folder called “XLF” somewhere on C:, where you move the installation file from the downloads folder. - Define the folder as a Trusted Location in Microsoft Excel:
- Start Microsoft Excel.
- Click “File” in the top left corner:
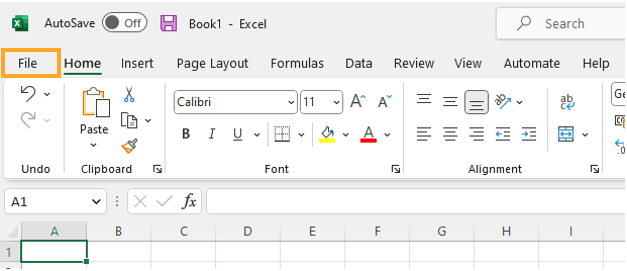
- Click “Options” in the bottom left corner.
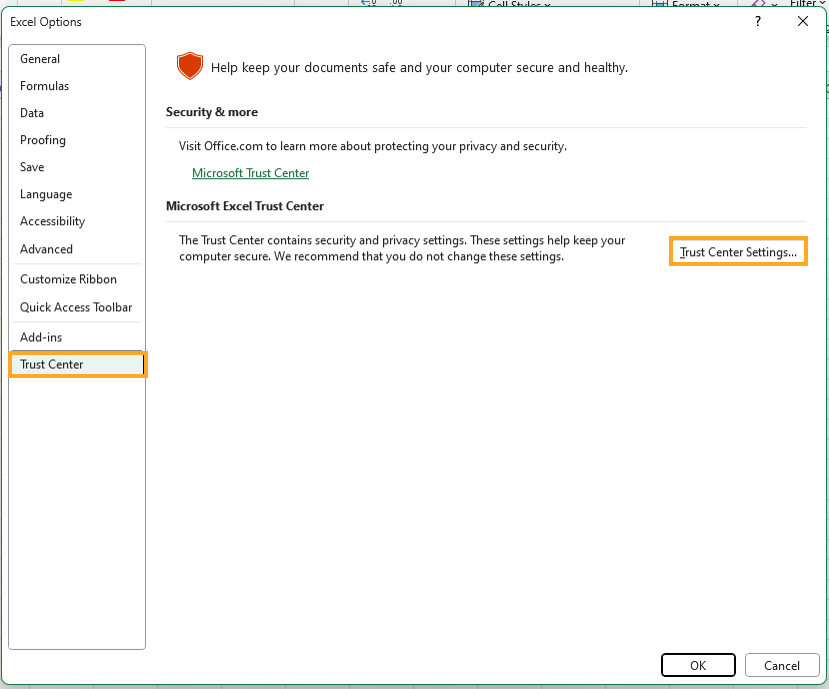
- Click “Trust Center” to the left and then click “Trust Center Settings…”:
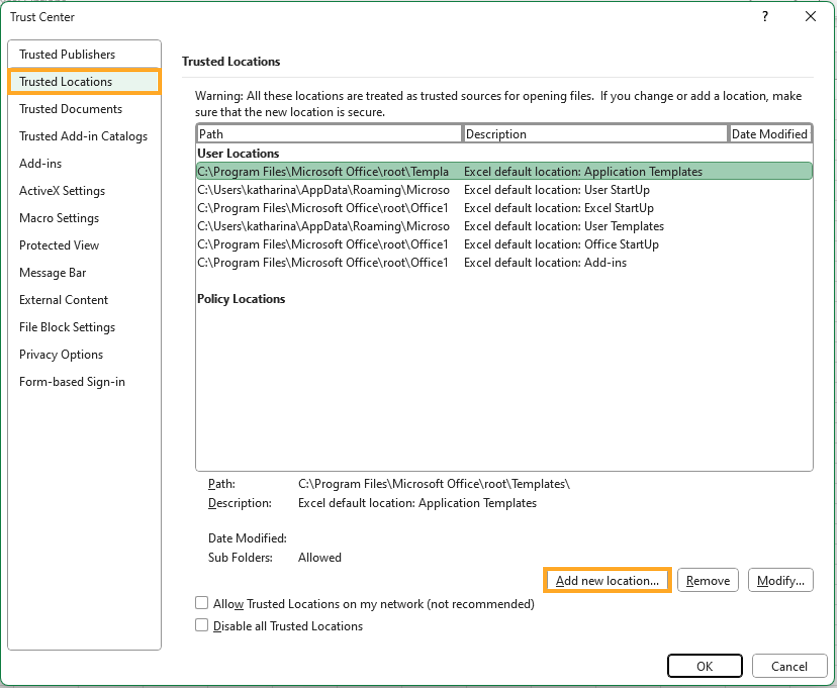
- Click “Trusted Locations” to the left and then click “Add new location…” on the bottom right:
- Click “Browse…” and browse to folder location noted in step “2: Downloading the add-in”, where the installation-file is saved. Mark the folder and click “OK”.
- Tick the option “Subfolders of this location are also trusted”.
- Click “OK” to confirm:

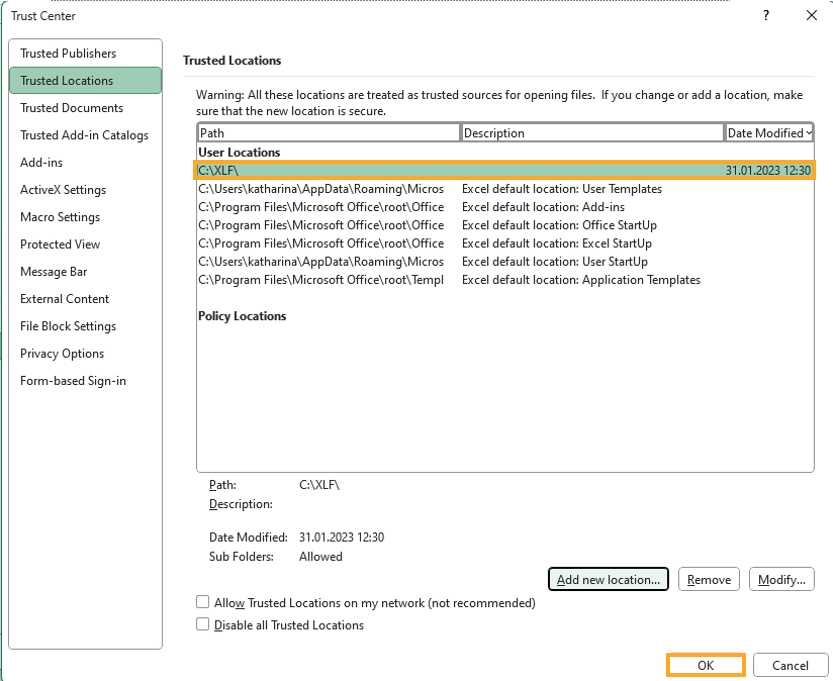
- Check that the location you added is listed under “User Location” and then click “OK” again in the “Trust Center”:
- Restart Microsoft Excel.
- Installation process:
- Go to “File -> Options -> Add-ins” and click the “Go…” button:
- Click “Browse…”, browse and find the path to the installation file which you saved locally and click it:
- Click “OK”:
- Montel XLF should now appear in the ribbon menu:

- Restart Microsoft Excel and verify that Montel XLF still appears in the ribbon menu.
- Go to “File -> Options -> Add-ins” and click the “Go…” button:
Click here for information about how to use Montel XLF.
Click here for information about how to edit the proxy settings for Montel XLF.